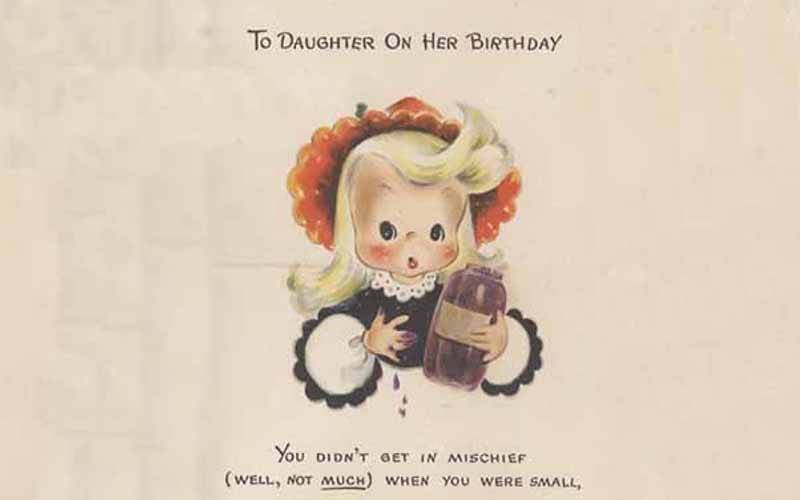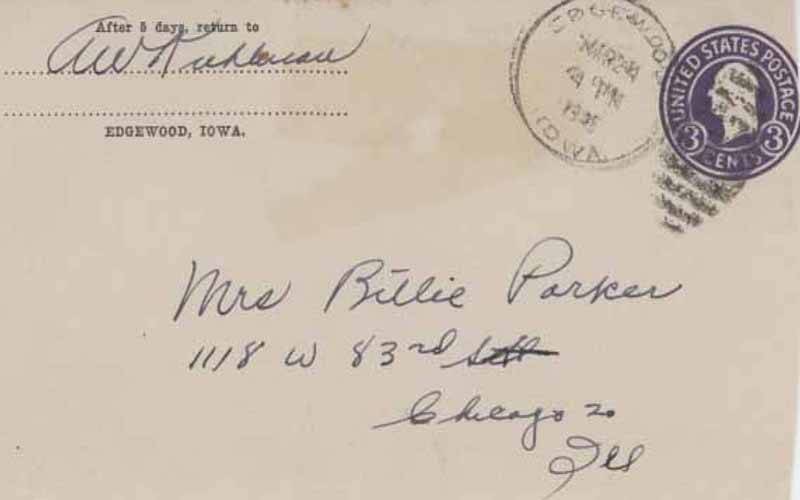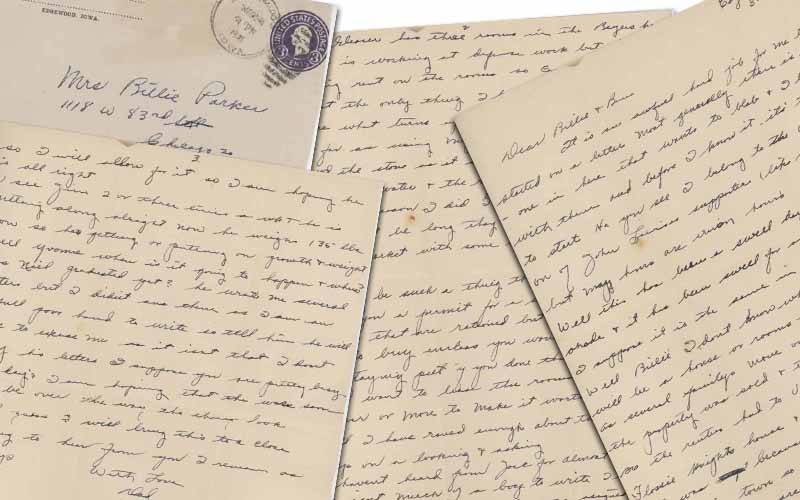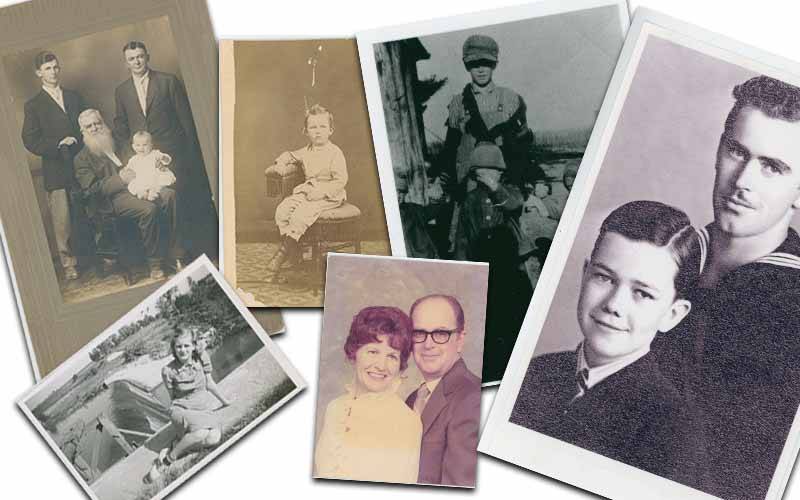
Generations of family photos
- Details
- Written by: Jim Parker
- Category: Uncategorised
- Hits: 267
Cayenne Design Web Content & Image Style Guide
1. Introduction
This guide defines how Cayenne Design (CD) handles article layout, images, and collaboration with “Joe” (ChatGPT) for generating content and graphics. It is intended for:
- Internal CD use (in-house standards and SOPs)
- Clients who want to prepare content that fits CD’s Joomla-based layouts
The core ideas are:
- Use consistent image sizes and aspect ratios so layouts remain clean.
- Use a clear heading structure (one H1, then H2 and below).
- Give Joe precise but simple instructions when asking for text or images.
2. Heading Structure and HTML Output When Working with Joe
2.1 One H1 per Page Principle
For all manuals, style guides, and article-like content, CD uses:
- Exactly one <h1> per page or document for the main title.
- <h2> for major sections under the main title.
- <h3> (and lower) for subsections as needed.
This structure applies whether the content is stored in:
- HTML (for Joomla, web pages, etc.), or
- Word / LibreOffice documents (where Heading 1, Heading 2, etc. map to the same idea).
2.2 “Visible HTML” vs. Structured Text
When Joe produces content, there are two useful modes:
- Structured text (no visible tags)
Joe writes headings and sections in a way that is easy to convert into Word/Libre heading styles. In this case, you:- See headings visually (larger/bold) in the reply.
- Do not see actual
<h1>,<h2>,<p>tags in the text. - Copy the text into Word/Libre and then apply Heading 1, Heading 2, etc. manually.
- Explicit HTML source (visible tags)
Joe writes the content as HTML code. In this case, you:- See literal tags such as
<h1>,<h2>,<p>,<ul>. - Copy/paste directly into a code editor, Joomla article HTML mode, or a template.
- See literal tags such as
There is no “hidden HTML in the background.” Either the tags are present and visible in the text, or the content is plain text/Markdown that you can style yourself.
2.3 Default Behavior When Working with Joe
By default, when producing discussion-style content, manuals, and outlines, Joe will:
- Use a single logical main title (intended as H1).
- Use clear section titles below (intended as H2+).
- Format content so that it is easy to paste into Word/Libre and apply heading styles.
When CD explicitly asks for HTML, Joe will:
- Provide full HTML source with
<h1>,<h2>,<p>,<ul>, etc. - Respect the “one <h1> per document” rule.
2.4 How to Ask Joe for the Format You Want
When requesting content from Joe, CD staff and clients should be explicit about the desired output format. For normal structured text (no HTML tags): Example instruction: “Joe, please outline this section with a clear main title and subsections, suitable for pasting into Word. I will apply heading styles myself.”
For full HTML (with tags): Example instruction: “Joe, please output this section as HTML with <h1>, <h2>, <p>, and <ul> tags. Use only one <h1> for the main title.” Internally, CD can use a simple guideline:
- Use structured text when the content will first be edited in Word / LibreOffice.
- Use HTML output when the content is going straight into Joomla or a web template.
3. Image Standards for Articles
3.1 Overview
This section defines the standard sizes and aspect ratios for images used in Cayenne Design (CD) article layouts, and provides example wording clients and staff can use when asking Joe (ChatGPT) to create images that match these standards. CD currently uses three primary article image types:
- Header images for three-column article rows
- Inline landscape images floated left
- Inline portrait images (e.g., manga panels) floated left
3.2 Header Images – Three Articles in a Row
Use case: Article “card” headers in a three-across row (blog/news listing).
- Aspect ratio: 16:9
- Export size (web): 800 × 450 px
- Master/original size (optional): 1600 × 900 px
- File format: JPG or WebP, optimized for web
On desktop, each card is roughly 360–380 px wide. An 800 px wide image provides sufficient resolution for hi-dpi displays while remaining lightweight. Example prompt for chatGPT (header image):
“Please create a 16:9 image for a Joomla article header. It will be one of three articles in a horizontal row. The topic is: [brief description]. The style should be [e.g., manga-like / clean flat illustration / photo-realistic, etc.], with enough clear space for a title to sit below the image. You will need to resize it to 800x450px using the Windows Photos app as described below.”
3.3 Inline Landscape Images – Floated Left
Use case: Blog-style article with an image at the top, floated left, with text wrapping on the right and below.
- Aspect ratio: 4:3 (landscape)
- Export size (web): 640 × 480 px
- Display width in article: approximately 300–320 px
- File format: JPG or WebP
Implementation note (internal): In Joomla, images of this type are typically assigned classes such as: float-start me-3 mb-2 This floats the image to the left and adds right and bottom margins so that the text does not touch the image. Example prompt for chatGPT (inline landscape image):
“Please create a 4:3 image to be used inside a Joomla article, floated on the left with text wrapping on the right and underneath. The topic is: [brief description]. The style should be [e.g., manga-style, light shading, etc.]. Please keep the main subject centered and remove any large borders so it crops well at about 320 px wide. You will need to resize it to 640x480px using the Windows Photos app as described below.”
3.4 Inline Portrait Images – Floated Left (Manga Panels)
Use case: Tall manga-style panels or portrait illustrations at the top of an article, floated left with text wrapping on the right and below.
- Aspect ratio: 2:3 (portrait)
- Export size (web): 640 × 960 px
- Display width in article: approximately 300–320 px
- File format: JPG or WebP
Implementation note (internal): As with landscape inline images, use: float-start me-3 mb-2 to float the image and provide spacing between the image and text. Example prompt for Joe (inline portrait image):
“Please create a 2:3 image to be used inside a Joomla article, floated on the left with text wrapping on the right and underneath. The topic is [brief description]. The style should be [e.g., manga-style, light shading, etc.]. Keep important details in the central area so it still looks good when displayed at about 320 px wide. You will need to resize it to 640x480px using the Windows Photos app as described below.””
3.5 General Guidelines When Requesting Images from Joe
When staff or clients ask Joe to create new images, they should:
- State the use case clearly
Examples:- “Header image for 3-column blog layout.”
- “Inline image floated left in a blog article.”
- Mention the aspect ratio
Use:- 16:9 for headers
- 4:3 for inline landscape
- 2:3 for inline portrait
- Optionally include pixel size
800×450, 640×480, or 640×960 as appropriate. - Describe the content and style briefly
Subject, mood, and style (e.g., manga-style, minimal background). - Note any composition needs
For example: “Main subject centered,” or “Leave some empty space around the subject.”
Generic template for image requests:
“Joe, please create a [16:9 / 4:3 / 2:3] image (about [pixel size]) for a Joomla article as a [header / inline floated-left] image. The topic is [topic]. The style should be [style]. The style should be [e.g., manga-style, light shading, etc.]. and it should look clear at about 320 px wide. Important details should stay in the center area.”
Base image versus web export size
Images created by Joe should be treated as base/master images. Even when we specify a size such as 800×450, 640×480, or 640×960 pixels, the generated image may be larger. This is normal and useful for applications that require different sizes.
Before uploading to Joomla, create a web-sized export by cropping to the correct aspect ratio and resizing to the target dimensions using Windows Photos as described below. Here’s a clean, step-by-step version you can drop straight into the manual.
Resizing an Image to a Smaller Size Using Microsoft Photos (Windows 11)
- Open the image
- In File Explorer, right-click the image file.
- Choose Open with → Photos.
- (Optional) Crop to the desired shape
- In Photos, click Edit image (pencil icon) at the top.
- Select Crop & rotate.
- Click Aspect ratio and choose the ratio you want (e.g. 16:9, 4:3, 2:3).
- Adjust the crop frame so the important content stays inside.
- Click Done (checkmark).
- Open the Resize tool
- In the Photos window, click the … (More) button in the top-right corner.
- Select Resize image (or Resize).
- Set the new pixel size
- Choose Define custom dimensions (or similar option).
- Make sure Maintain aspect ratio is ON.
- Enter the new width in pixels (for example: 800, 640, etc.).
- The height will update automatically to match the aspect ratio.
- Confirm with Save resized copy.
- Save the resized image
- Choose a folder for the web-sized version (e.g. your “web images” folder).
- Give it a clear name (for example:
header_images_800x450.jpg). - Click Save.
Result: you keep your original “base” image and now have a smaller, web-ready copy at the exact size you want.
- Details
- Written by: Jim Parker
- Category: Uncategorised
- Hits: 251
From Box to Buyer: A Simple Guide to Rehoming Family Memorabilia
At some point, many of us open an old box and find ourselves face to face with the lives of earlier generations:
newspapers from the 1920s, war-time magazines, baby toys, postcards, clippings, and small objects that somebody once thought were worth keeping.
This is a guide that may help decide how to handle the situation.
Read more: From Box to Buyer: A Simple Guide to Rehoming Family Memorabilia
- Details
- Written by: Jim Parker
- Category: Uncategorised
- Hits: 979
Registration Requirements for Letter Memories Website
-
Are you related to anyone in the Letter Memories Genealogy Database?
- Yes: Please specify the person’s name and your relationship (e.g., child, grandchild, uncle, cousin, etc.).
-
Do you think you may be related to someone in the Letter Memories Genealogy Database but are not certain?
- Yes: Please specify the person you think you may be related to and the possible relationship (e.g., ancestor, distant cousin, etc.).
-
Are you not related to anyone in the Letter Memories Genealogy Database but interested in participating?
- Yes: Please explain your interest in participating (e.g., researching family history, general genealogy enthusiast, or other reasons).
Additional Suggestions for Data Collection
-
Contact Information:
- Full Name
- Email Address
- Phone Number (optional)
-
Purpose of Registration:
- Why are you registering? (e.g., connect with relatives, contribute photos or letters, access family history resources, etc.)
-
Consent and Privacy Agreement:
- Include a checkbox to agree to the website’s terms of use and privacy policy, ensuring they understand how their data will be used.
-
Family Tree Contribution (Optional):
- Would you like to contribute to the Genealogy Database? If so, provide details or upload relevant documents (e.g., family trees, photographs, letters).
-
Membership Preferences:
- Choose membership options, if applicable (e.g., free access, premium membership with extra features).
-
Verification of Connection (Optional):
- If claiming a relationship to someone in the database, would you be willing to provide proof or documentation (e.g., birth records, family trees)?
(This step can help maintain the integrity of the database.)
- If claiming a relationship to someone in the database, would you be willing to provide proof or documentation (e.g., birth records, family trees)?
-
Newsletter Subscription:
- Would you like to receive updates about the Letter Memories project, including new uploads, family stories, or community events?
Optional Follow-Up Questions
-
Genealogical Interests:
- Are you actively researching a specific family line or region?
-
Skills and Contributions (Optional):
- Do you have skills (e.g., translation, historical research, photo editing) or resources (e.g., documents, memorabilia) that could contribute to the project?
-
Feedback and Suggestions:
- How did you hear about the Letter Memories website? Do you have suggestions to improve the project?